Training Basics
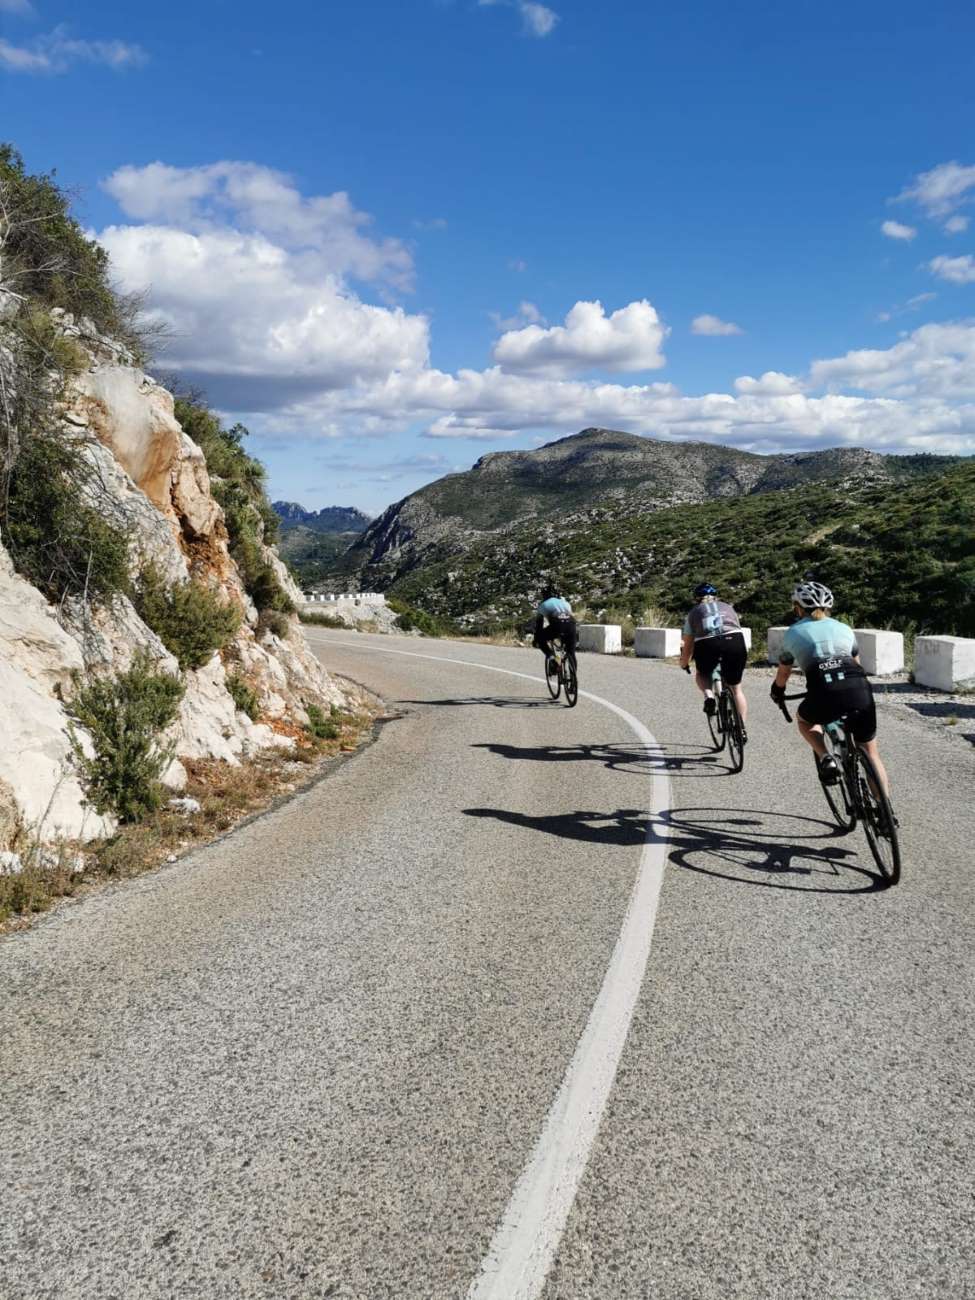
I have had over the last few months a lot of questions popping up regarding training, FTP, HR zones etc. I think this is due to the Covid restrictions and a lot of us turning to a lot more indoor training. For me even though I live out in Spain with the most wonderful roads for cycling on I still do a lot of my training on an indoor smart trainer…
The reasons will become clear!
So, I thought I would give a very basic overview for those wanting to train with a little more focus rather than randomly increasing the duration you do each week. Basically, how to train smarter. Don’t worry though this blog is in the most simplistic terms as like anything quite often we do over complicate things to make it sound much more complicated that it is. I will be pulling together some more detailed blogs later so keep an eye out for them, but let’s get the basics nailed before we move on.
These in my opinion are the building blocks of training smarter.
Starting at the beginning, and I hear you say I have no equipment how can begin to train with a little focus?
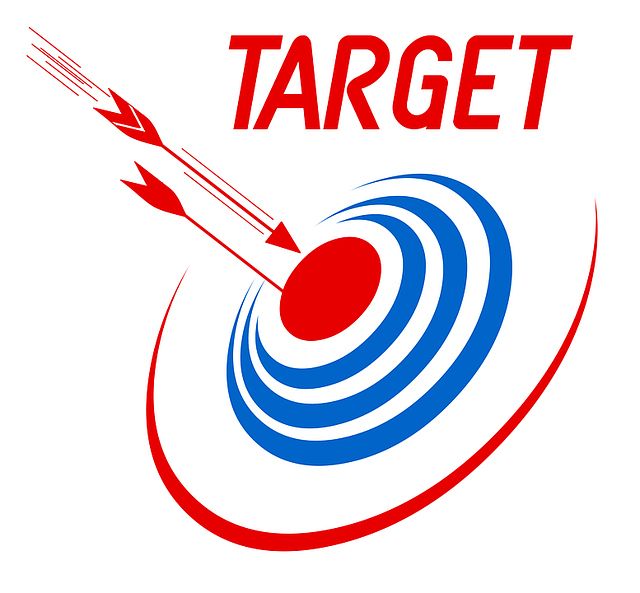
Firstly, set a goal… If you don’t have a goal or target, then how can you possible achieve it/work toward it/hit it?
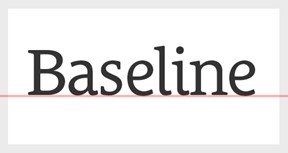
Secondly, where am I now? How fit am I now? If I don’t know this then how can I gauge and monitor improvement? That baseline can come in the most basic of forms… I can run 3 lamp posts, I can ride for 30 mins etc. Set your baseline or how will you know if you have improved or if your training is working? You need a reference point to measure your progress from.
So, we have a goal set and we have set our baseline of where I am today in a fitness context., how do we go about all this training malarky?
For newbies to training, the initial starting point would be to use good old fashioned “Rate of Perceived Effort (RPE)”. So how hard did that work out feel. Might sound basic but this is a key tool to use in understanding your training zones.
To keep it simple use a scale of 1- 10 in perceived effort, you can then start to target your workouts a little more effectively.
Here are the zones: –
1 – I’m chilling watching TV .
2 – I can do this all day
3 – My breathing has increased
4 – I’m Starting to sweat
5 – I can hold a conversation
6 – Slightly Breathless but can still talk
7 – I can talk but I really don’t want to
8 – I can only grunt now, don’t talk to me
9 – I feel like I’m going to be sick and can’t go on
10 – Yep, I have been sick 😊
By using RPE you can begin to start to train within Zones for example try heading out for a ride and stay within zone 5 – 6 generally, zone 5 is where your recovery period should be. You could then do intervals at say an RPE of 8 for 90 seconds for example. This old school training by feel is often overlooked in today’s world of data recording devices, but don’t underestimate it! Often riders can be too reliant on all the data and when things go wrong flat batteries etc. it’s good to know what your RPE zone relates to in terms of your Heart Rate (HR) zone or Power Zones. I often like to go out and train by feel for example on a run. I also think there is benefit in unplugging from all the data and just be mindful and enjoy the run… anyway back to it!!
Riding with feel and RPE is perfectly fine and a great starting point, but if you want to really target your training you need to start monitoring and tracking your progress a little more accurately.
So, I want to progress from training with RPE how do you do this and what’s the first step?
From here a really great bit of kit and is fundamental to training is a HR monitor, which is a great way to now start training within specific HR Zones. A heart rate monitor measure exactly that your heart rate and displays your beats per minute. You can get strap mounted monitors or wrist mounted similar to the ones below.


There are tons of literature out there on training within HR zone, and I definitely recommend you do a little research on the subject! Phil Maffetone is a great source to have a look at, he was basically brainchild of where it all began… check him out!
Dependent on where you look, the HR zones may change slightly, however they all follow pretty much the same theory and ranges. See adjacent table with training zones on. For completeness, I have included Power Zones on this table, which I will get to later, but still the principal is the same whether you use a power meter or heart rate monitor to train within a zone.
The first starting point is to establish what your maximum HR is as you can see all the zones are established as a % from this.
How do I do that then?
There have been a number of methods to establish max HR
Using the appropriate calculation you can derive your max HR or there about, these calculations are always open to scrutiny, but it will give you a starting point. The better option is to carry out a physical test to give you the most accurate and personalised result. Again there is lots of information on the web on how to undertake a max HR test in real world conditions.
Once you have your zones you can then begin to tailor your workouts and work in defined zones, which is essentially the backbone and the fundamental of training programmes. A key bit of advice here, which a lot of athletes do fall fowl of is to go hard on your hard days and go easy on the easy days. Sometimes to go faster you have to go slower! Often riders will ride in the middle not too slow but not hard, what this does is minimises the training gains for the duration of time you spend.
So when people say to you “I’m on a Zone 2 ride” you know what they are talking about! Please note these are super important, and for me, are key to building a great endurance platform to excel from. During winter I would use an 80% easy – 20% hard workouts.
The next level in terms of cycling is to start to train with power and in the zone table above, the zones are detailed and the same principals apply to training within zones, however you are just getting the data from a different monitoring device.
So… I hope that has cleared up the basics of what training zones are all about and most plans that are out there will reference zones that you need to train in. I hope this has shed a little light on it all!